


Before replacing Mercedes fog lights, gather tools, parts, and safety gear, including model-specific lights. Park vehicle safely, put on protective gear, and locate fog lights under the front bumper. Refer to repair manual for removal instructions, carefully disassemble old lights, and handle delicate parts with care. Ensure proper fitment and alignment of new lights below the hood line; consult owner manual or professional mechanic if unsure.
Performing a proper Mercedes fog light replacement is essential for enhancing safety on the road, especially in low-visibility conditions. This step-by-step guide will walk you through the process, ensuring optimal results. First, gather the necessary tools and parts specific to your Mercedes model. Then, safely remove the old fog lights by detaching wires and carefully taking them out. Next, install new ones correctly, ensuring a secure fit and proper alignment for maximum illumination.
- Gather the Necessary Tools and Parts
- Safely Remove the Old Fog Lights
- Install New Mercedes Fog Lights Correctly
Gather the Necessary Tools and Parts

Before starting a Mercedes fog light replacement, ensure you have all the necessary tools and parts at hand. This includes a new set of fog lights (choose the correct model specific to your Mercedes), socket wrenches, screwdrivers, pliers, and any other specialized tools required for your vehicle. It’s also crucial to gather safety equipment like gloves and eye protection. For complex installations or if you’re not comfortable with auto body repairs, consider seeking help from a professional mechanic.
The parts for Mercedes fog light replacement are readily available at automotive stores or online retailers. Make sure the fog lights you choose meet the required standards for your vehicle’s make and model, ensuring proper fitment and functionality. While this process can be similar to other car dent removal or collision repair tasks, it demands precision to maintain the aesthetic integrity of your Mercedes. Therefore, double-check each component before proceeding with installation.
Safely Remove the Old Fog Lights

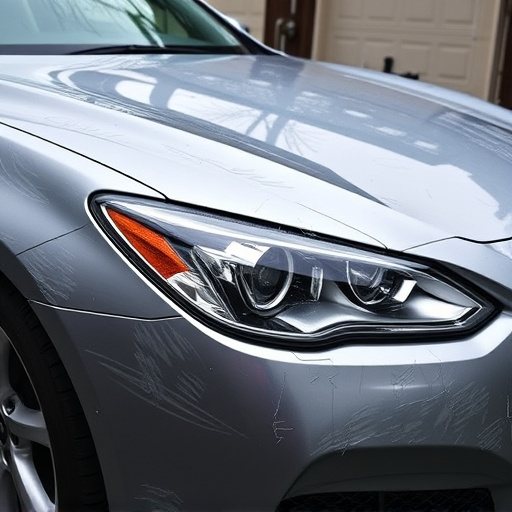
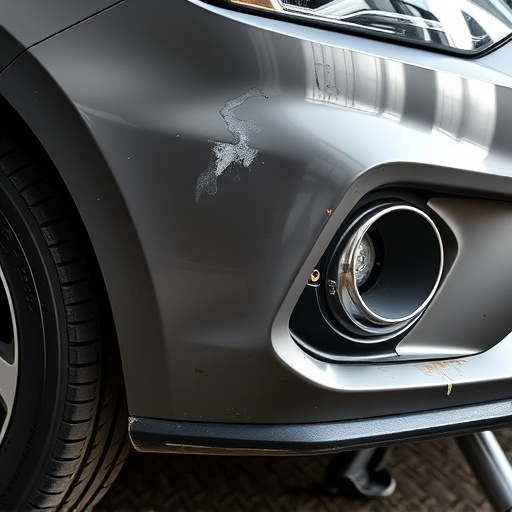
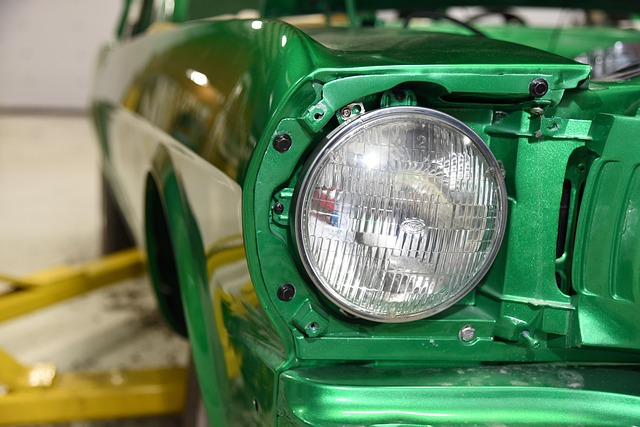
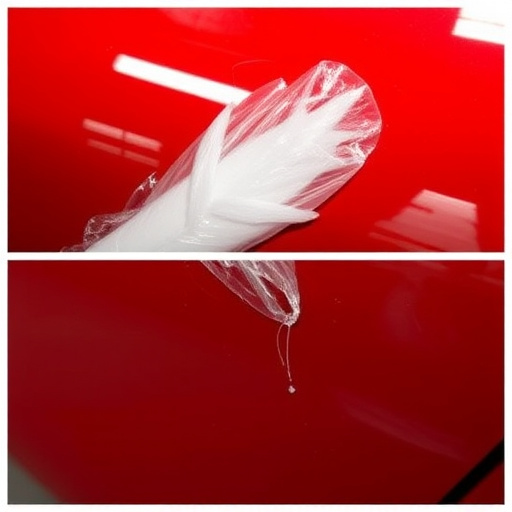
Start by ensuring your vehicle is parked in a safe, level area with adequate lighting. Engage the parking brake and turn off all lights, including the ignition. Put on safety gear, such as gloves and eye protection, to shield yourself from any debris or potential injuries during the Mercedes fog light replacement process. With the right tools at hand, carefully locate the fog lights under the vehicle’s front bumper. Next, refer to your vehicle’s repair manual for a detailed guide on how to safely remove each fog light assembly. This process usually involves detaching electrical connectors and securing brackets before gently pulling out the old fog lights. Be mindful of any retaining clips or screws that might require specific tools for removal, ensuring you have all necessary parts laid out for easy access during auto body repair.
Once the old fog lights are exposed, begin disassembling them following a systematic approach. Carefully remove the protective covers and trim pieces surrounding the lights to gain full access. In many cases, this involves unscrewing or unclipping various components. Proceed with caution, as these parts are delicate and may require intricate dent removal techniques if they’ve been damaged during use or storage. By following a meticulous process, you can ensure a seamless Mercedes fog light replacement, enhancing the safety features of your vehicle without compromising its aesthetic appeal through proper automotive restoration.
Install New Mercedes Fog Lights Correctly

When performing a Mercedes fog light replacement, ensuring proper installation is key to enhancing visibility and safety while driving in adverse weather conditions. Begin by acquiring the correct replacement lights that are designed specifically for your Mercedes model. Always refer to your vehicle’s owner manual or consult a professional mechanic for the exact specifications. Before installing, double-check that all electrical connections are secure, including the positive and negative terminals. This step is crucial to prevent any short circuits.
Proper installation involves more than just screwing in new lights; it requires aligning the fog lights accurately to ensure they cast light where needed – on the road ahead, not upward or into your eyes. Make sure the lights are level and properly positioned, typically below the car’s hood line, to avoid blinding other drivers. If you’re unsure about any aspect of the replacement process, consider seeking assistance from a qualified technician. Remember, proper alignment could be the difference between enhancing safety on the road and causing distractions for fellow motorists.
Performing a proper Mercedes fog light replacement is crucial for enhancing safety on the road, especially in low-visibility conditions. By following these straightforward steps and using the right tools and parts, you can ensure your Mercedes maintains optimal illumination during foggy or misty weather. Remember to prioritize safety and adhere to local regulations when making this modification. Happy driving!