


Mercedes fog light sensor calibration is essential for safety, and regular recalibration using tools ensures accurate light detection. Replacement parts should be high-quality and compatible with your vehicle model. When replacing fog lights, follow safety steps: park securely, wear protective gear, locate and remove old lights, install new ones, and reattach panels while double-checking connections.
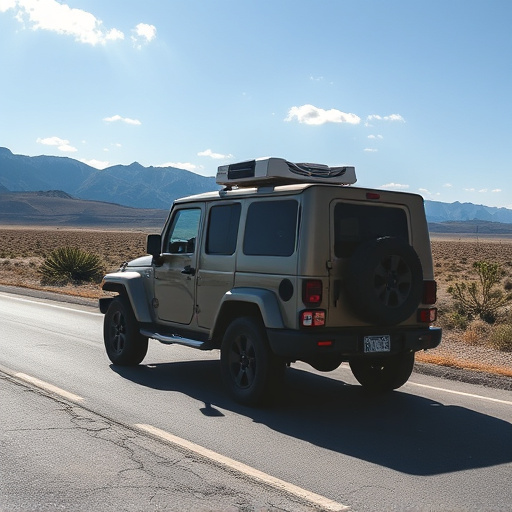
Looking to upgrade your Mercedes’ fog lights? This comprehensive guide is your starting point. We’ll walk you through the intricate process of replacing them, focusing on a key step: sensor calibration. Understanding this crucial aspect ensures optimal performance and safety. Next, we’ll help you choose the right replacement lights, offering tips on compatibility and features. Get ready to enhance your Mercedes’ visibility and navigate with peace of mind.
- Understanding Mercedes Fog Light Sensor Calibration
- Choosing the Right Replacement Fog Lights
- Step-by-Step Guide to Fog Light Replacement
Understanding Mercedes Fog Light Sensor Calibration
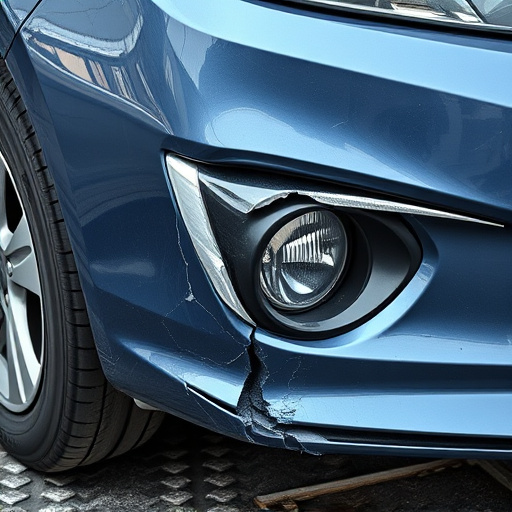
Mercedes fog light sensor calibration is a crucial aspect of ensuring optimal visibility and safety while driving in low-visibility conditions. These sensors detect ambient light levels and determine when to activate your fog lights, helping to prevent blinding other drivers. Over time, these sensors can become compromised due to factors like dirt, debris, or even hail damage repair, affecting their accuracy. When this happens, a proper calibration is required to restore optimal performance.
During the calibration process, specialized tools are used to adjust and fine-tune the sensor’s settings, ensuring it accurately measures light levels. This is especially important for luxury vehicles like Mercedes, where advanced lighting systems are designed to enhance safety without compromising aesthetics. Regular maintenance and timely Mercedes fog light replacement parts can prevent issues and keep your vehicle’s lighting system functioning at its best, ensuring you’re always prepared for varying driving conditions, whether it’s navigating through dense fog or dealing with auto repair services near you.
Choosing the Right Replacement Fog Lights
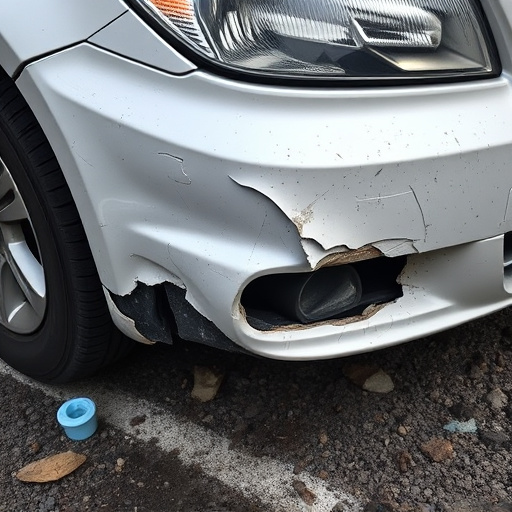
When replacing Mercedes fog lights, it’s paramount to select the right components for a seamless fit and optimal performance. The market offers various options, but ensuring compatibility with your vehicle model is crucial. Opting for high-quality replacement fog lights from reputable manufacturers guarantees both durability and reliability, enhancing safety during low-visibility driving conditions.
Consider factors such as lumen output, beam pattern, and water resistance when choosing new Mercedes fog lights. Additionally, consulting your vehicle’s service manual or seeking advice from a collision repair shop specializing in autobody repairs can help you make an informed decision. The right replacement parts will not only restore the fog lights’ functionality but also contribute to overall vehicle safety, ensuring clear visibility on the road.
Step-by-Step Guide to Fog Light Replacement
Replacing your Mercedes fog lights is a straightforward process that can significantly improve visibility during low-light conditions. Here’s a step-by-step guide for Mercedes fog light replacement:
1. Safety First: Park your vehicle on a level surface and engage the parking brake. Ensure all passengers exit the car, and it’s crucial to turn off the engine and remove the key from the ignition. Safety goggles and work gloves are recommended to protect against any debris.
2. Identify the Fog Lights: Locate your Mercedes’ fog lights, typically housed within the front fender or grille. The precise position varies depending on your vehicle model. Check your owner’s manual for specific instructions.
3. Disconnect Power: Before beginning disassembly, disconnect the negative battery cable to avoid any electrical shocks or short circuits. This is a critical step in Mercedes fog light replacement, ensuring safety throughout the process.
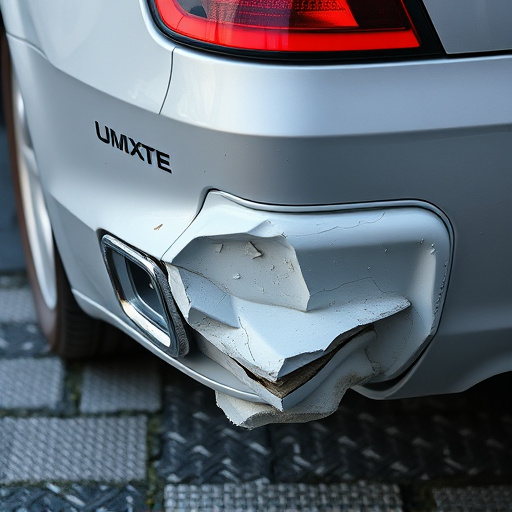
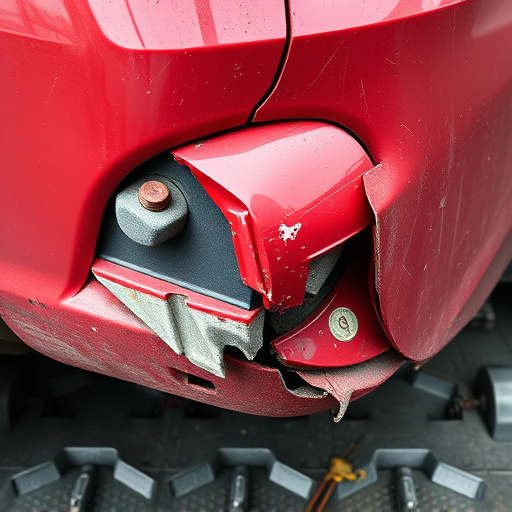
4. Remove Existing Fog Lights: Carefully unscrew and remove the existing fog lights from their mounting points. You may need a suitable socket or screwdriver for this task. Once removed, inspect the housing and surrounding area for any signs of damage or debris.
5. Install New Fog Lights: Insert the new fog lights into the housing, ensuring they align correctly with the vehicle’s specifications. Tighten the screws securely but avoid overt tightening to prevent damage.
6. Reattach and Reconnect: Reattach any panels or covers removed during the process. Before reconnecting the negative battery cable, double-check that all components are properly secured.
Replacing your Mercedes fog lights involves understanding sensor calibration and selecting the right components. By following a step-by-step guide, you can ensure a successful installation process. Remember to choose high-quality replacement fog lights for optimal performance and visibility during low-visibility conditions. With proper care and maintenance, your Mercedes will continue to navigate safely through any weather, making it a true testament to advanced automotive engineering.