


To safely replace your Mercedes fog lights (Mercedes fog light replacement), gather appropriate tools (screwdrivers, pliers) and protective gear. Park on a level surface, prioritize safety by consulting your vehicle manual, and take caution around electrical components. Locate the fog light assembly, remove the old light, inspect for damage, install new lights with proper alignment, and test visibility at various angles.
Looking to upgrade your Mercedes with new fog lights? This comprehensive guide walks you through the process, from gathering the right tools to ensuring safety and installing like a pro. We break down the essential tools needed for a successful Mercedes fog light replacement, offering step-by-step instructions to make the task effortless. Prepare to enhance your vehicle’s visibility and drive with confidence.
- Tools Required for Mercedes Fog Light Replacement
- Safety Precautions Before You Begin
- Step-by-Step Guide to Changing Fog Lights
Tools Required for Mercedes Fog Light Replacement

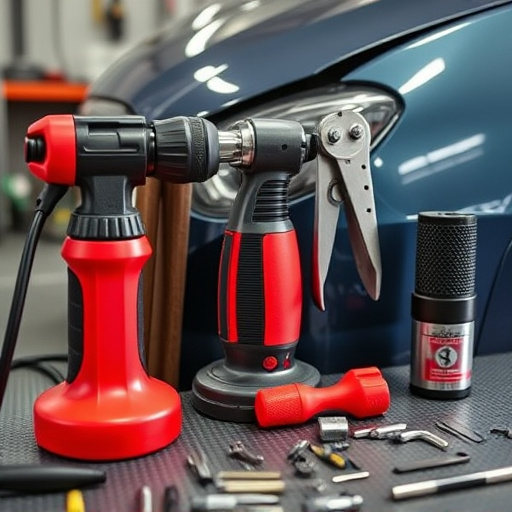
When it comes to replacing your Mercedes fog lights, having the right tools is essential for a successful and safe DIY project. Here’s what you’ll need to have on hand:
1. Screwdrivers: A set of flathead and Phillips head screwdrivers in various sizes will be necessary to remove the old fog light housing and install the new ones. Make sure they match the torque specified by Mercedes for your specific model.
2. Impact Wrench (Optional but Recommended): For faster disassembly, an impact wrench can significantly reduce the time spent on removing stubborn screws. This is particularly useful if you’re tackling a Mercedes benz repair on your own.
3. Pliers: A pair of adjustable pliers will come in handy for gripping and manipulating components that are difficult to reach or tightly held.
4. New Fog Lights: Ensure you have genuine Mercedes fog lights or ones specifically designed for your model year to guarantee proper fitment and functionality, avoiding any complications during the Mercedes fog light replacement process.
5. Gloves and Safety Glasses: Safety first! Wear protective gear to shield your hands and eyes from debris and sharp edges while working on your car, especially during car collision repair.
Safety Precautions Before You Begin

Before tackling any DIY auto repair, ensuring your safety should be your top priority. When it comes to Mercedes fog light replacement, there are several precautions to keep in mind. First and foremost, park your vehicle on a level surface with the handbrake engaged to prevent any accidental rolling. Ensure proper lighting in your work area, as dimly lit conditions can lead to mistakes. Wear protective gear, including safety glasses, gloves, and even ear protection, as certain tools and parts can pose potential hazards. If you’re not comfortable with any aspect of the replacement process, consider reaching out to professional collision repair services for assistance.
Another crucial aspect is working with caution around electrical components. The fog lights are connected to your car’s electrical system, so disconnecting the wrong wire could result in a short circuit or other electrical issues. Refer to your vehicle’s manual or consult an experienced mechanic if you’re unsure about any wiring diagrams or procedures. Remember, taking the time to prioritize safety can save you from potential injuries and costly collision repair services down the line.
Step-by-Step Guide to Changing Fog Lights

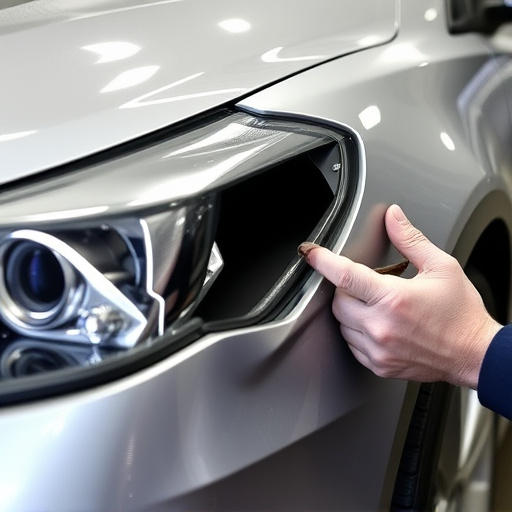
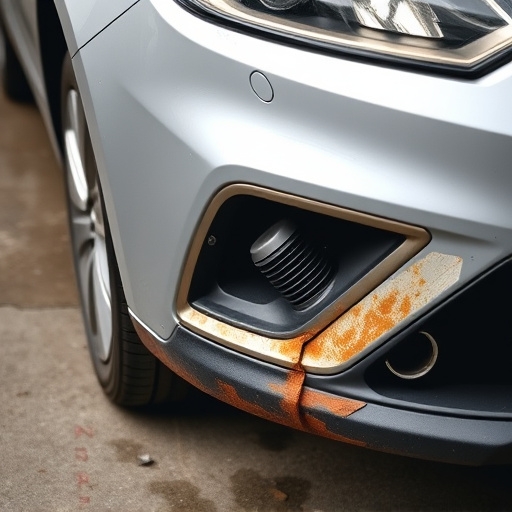
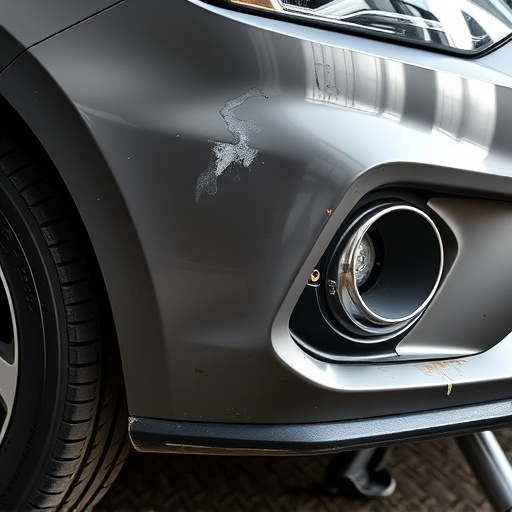
Changing your Mercedes fog lights is a relatively straightforward process that can significantly enhance your vehicle’s visibility and safety during low-visibility conditions. Begin by identifying the fog light assembly, which is typically located on either side of the front grille. Next, gather the necessary tools for the Mercedes fog light replacement, such as a new set of fog lights (ensure they fit your model), a screwdriver, and possibly a pair of pliers or a socket wrench, depending on your vehicle’s design.
Remove the existing fog light by unscrewing any visible bolts or clips securing it in place. Some models may require releasing a retention clip first. Once removed, inspect the housing for any signs of damage. If needed, replace any damaged parts or clean the area thoroughly before installing the new fog light. Ensure proper alignment and secure the new light firmly according to your vehicle’s specific instructions. Verify that the fog lights function correctly by testing them at different angles to achieve optimal visibility. Remember, clear vision is paramount for safe driving, especially in adverse weather conditions, making this automotive restoration task a valuable investment in your safety and peace of mind.
Replacing your Mercedes fog lights is a relatively straightforward process that can significantly enhance nighttime visibility and safety. With the right tools, a few simple steps, and some basic caution, you can achieve a smooth and effective Mercedes fog light replacement. Remember to always prioritize safety and consult your vehicle’s manual for specific details regarding your model. Now that you’re equipped with knowledge, go ahead and improve your Mercedes’ nighttime driving capabilities today!